Mastering the Poke-web: How to Build a Website that Reads the Pokemon API and Returns Results


What is an API?
An API, or Application Programming Interface, is a set of protocols, routines, and tools that allow different software applications to communicate and interact with each other. In other words, it is a way for developers to access and use the functionality and data of another application or system in their own application. APIs typically provide a standardized and simplified way for developers to access complex features and data without having to understand the underlying code or infrastructure. The PokeAPI, for example, provides a way for developers to access information about different Pokemon, such as their stats, abilities, and moves, and use that data in their own applications.
Gotta fetch them all!
Now, we need to figure out what we want to do with one. For this, I picked the PokeAPI, available at https://pokeapi.co. The way we'll use this API works very simply - put in the name of the pokemon, and it'll give you the stats, type and picture of the Pokemon.
How do we do this in Javascript though?
First off, I created a super basic website - an input text box and a submit button. Sure, I used some CSS to make it look better but it'd work just the same without it:
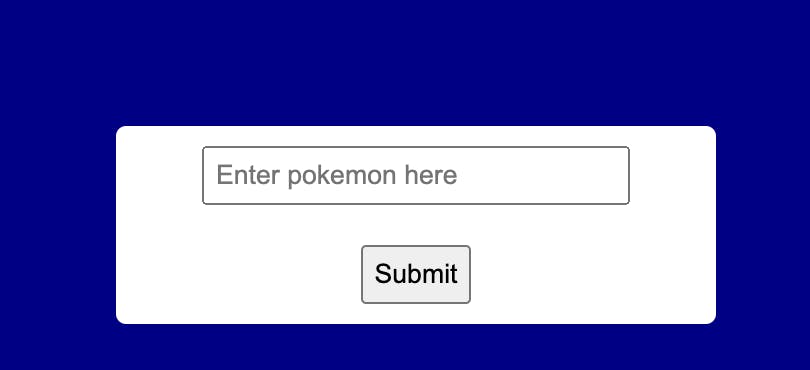
This isn't a tutorial about CSS or HTML, this is just purely about APIs but a future blog where I create a website that will find the weather, add an icon appropriate to the weather and the users current location, is coming soon that will wrap everything including HTML, CSS, JS and APIs.
Now the Javascript!
Firstly, we need to grab the name from the input box when the Submit button is clicked. This is done quite simply (the id's I used are relevant to my HTML, if you're trying this yourself, you'd use your own!):
const pokemonName = document.getElementById('pokemon-name').value.toLowerCase();
const url = `https://pokeapi.co/api/v2/pokemon/${pokemonName}`;
Grab the entered info, make it lowercase (the API throws an error if you put the name in anything but all lower-case), and then turn that into the appropriate URL. Pretty simple string formatting.
Next we use the fetch command to get the URL info:
fetch(url)
      .then(response => {
        if (!response.ok) {
          throw new Error('Pokemon not found - check your connection and try again!');
        }
        return response.json();
      })
we're using fetch here as previously stated, and then using .then to continue the code once the response is received. If the response is not okay, we throw an error and handle that later. Otherwise, we use the .json() method to get the JSON formatted version of the response, so we can process that shortly.
Then, we do some processing:
.then(data => {
        const pokemonInfo = document.getElementById('pokemon-info');
        pokemonInfo.innerHTML = `
          <h2>${data.name}</h2>
          <img src="${data.sprites.front_default}" alt="${data.name}">
          <p>Height: ${data.height}</p>
          <p>Weight: ${data.weight}</p>
          <p>Types: ${data.types.map(type => type.type.name).join(', ')}</p>
        `;
      })
Get the ID of the box we want to display the info in, then we grab certain info from the JSON file. I will be covering how JSON files work in a future blog, but for now, understand that they're basically a way that data is represented in an ordered way.
data => is how we reference the data in the API.
data.nameis how the name of the Pokemon is referenceddata.sprites.front_defaultis the Image URL of the Pokemons picture within the JSONdata.heightis the Pokemons Heightdata.weightis the Pokemons WeightWe then use the
.map()method to join the list of types that the Pokemon has (if there are more than 1, otherwise it'll only give us the one name).
All of this information is then used by the .innerHTML() method, as a formatted string, to place this into the div we placed in our HTML document, which I placed just below the input box and submit buttons (screenshot below).
.catch(error => {
        console.error(error);
        const pokemonInfo = document.getElementById('pokemon-info');
        pokemonInfo.innerHTML = 'Pokemon not found - check your connection and try again!';
      });
Finally, I added a catch statement to catch the error earlier if there was a typo or if the user was offline, and then let them know this so they can check these things.
Always add error handling! Nothing worse than nothing happen when you click a button.
And finally...
Once all this is done, you should get something like this, if you followed my formatting (bear in mind that mine has CSS styling):

And that's it! Feel free to play around with it.
In summary:
Figure out the URL that your API uses. Some APIs use API Keys - I will explain this in my larger blog soon (or can on request in the comments!).
Use
fetchto get the information, and then.json()to get it as a JSON.Process the data. The documentation for your API will tell you how it's all broken down and you can test the code out to get the particular part you want. You might want to use .map() to process lists into more readable information.
ERROR HANDLING! Include it so your user doesn't get frustrated.
Put all this info in a
divelement or however you want to! You could add different pieces of information to theinnerHTMLof other elements.
As with all things - practice, play around with it and make something awesome. I would love to see anything that any of you create! The beauty of this API is that you don't need any fancy API Keys or subscription, you just fetch the URL and get data with no other coding needed.
Take care everyone!